Hello friends! I am so, so excited to be here sharing my Style Maker Fabrics Spring Tour garments!
*Find a list of pattern and fabric links at the bottom of the post*
I get so excited to see all the amazing creations every spring and fall when Michelle holds her Style Tours. It's so much fun to see all of the new fabrics, but even more fun to see them sewn up in all types of different styles! What one person envisions in a particular fabric can be so different from what another person sees. One of my favorite things about this online sewing community is all of the inspiration that is shared.
So hang on, or rather, grab a beverage, and let's dive in! I've got plenty to share! 😀
It was truly a difficult decision in choosing which fabrics to go with, and I waffled a bit, but pretty quickly settled on a palette that caught my eye. As it often does, my ideas changed and shifted before I finally got to actually cutting out my fabric.
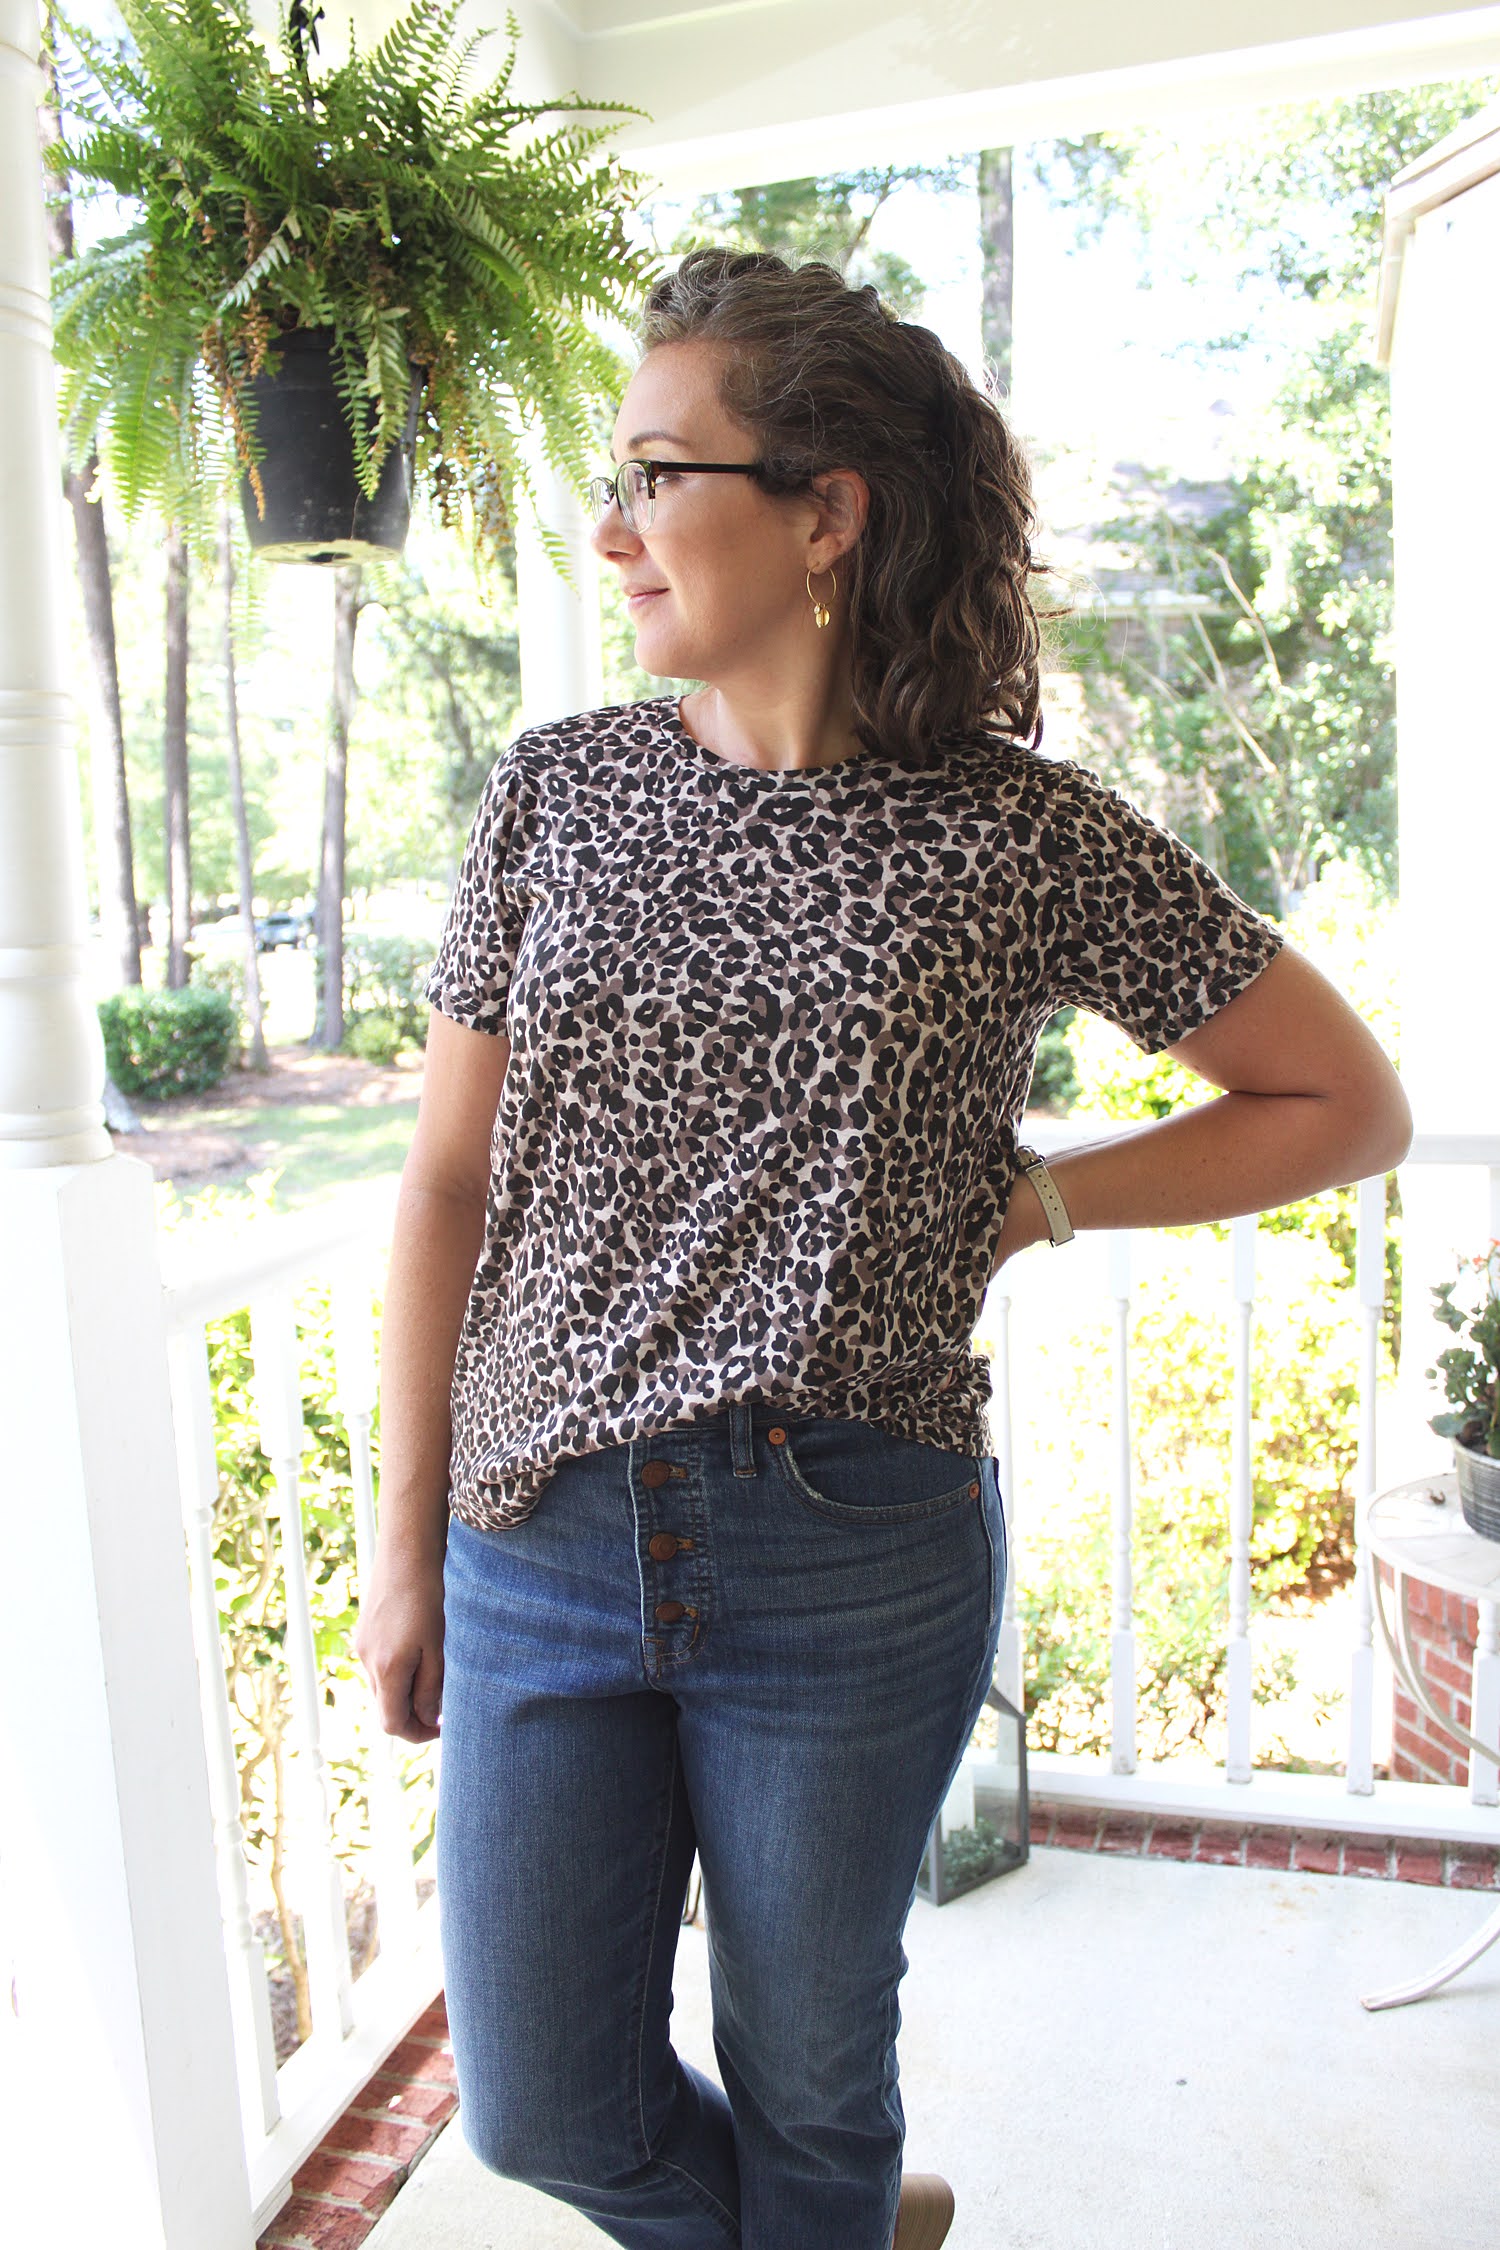
I chose 3 gorgeous fabrics in different substrates with plans to create a coordinating outfit. My initial plan for the denim didn't change, I stuck with my vision of cut-off jean shorts. I did however waffle between which pattern to use, but I'm SUPER happy with the Dawn Shorts (pattern by Megan Nielsen) that I ended up making!
Dawn Shorts
The size chart had me floating between an 8 to an almost 12, but based on the finished measurements I decided to make a straight size 10. (Measurements are approx W:29.5", H:38(1/2"ish))
I made a couple of small alterations to the pattern, the first was to shorten the rise around 3/4" from the top. I did this simply by cutting at the size 0 at the waistline. I also sewed the waistband to the pants with a 3/4" seam allowance to shorten just a smidge more. I scooped out the front pockets just a bit, to accommodate lowering from the top.
I have a very short torso, but lowering just a little bit did the trick to hit me at a great spot! Next time I think I will shorten the yoke by about 1/4" as well. And I also have just a bit of extra fabric at the center back seam that I need to scoop out. I'm planning to take out my topstitching on this pair and fix it as it is very obvious when I wear them and walk around in them. I am pretty sure the adjustment I need to fix this is a low butt adjustment, which I will also make to the pattern so the next time I sew it up, it will be a non-issue.
The second thing I did was to lengthen and widen the legs slightly. I was going for a vintage cut-off vibe. I lengthened the hem only by 1/2", but left it raw so that it will fray more over time. By leaving it raw, it's currently 1 1/2" longer than the pattern. I also widened the side seams and inseam (slightly) for a more roomy vintage feel.
To get the hem to fray like this, I simply ran the shorts through the washer and dryer before adding the hardware. I will stitch a line 1/2" from the raw edge to prevent any fraying that might exceed that point over time, and I'm sure I'll be giving the hem "haircuts" over time as well. 😊
Did you notice the special little detail I added to the back pocket!? I am working at a gorgeous little sewing shop these days, and I had a little fun playing with embroidery! I think this little detail adds the perfect little touch to this handmade pair of shorts. I'm definitely completely smitten with that tiny little tone-on-tone detail!
Michelle was so kind to send me a gorgeous jeans hardware kit with the denim, but I decided to go a different route and sew the button front, so I used up some hardware that I had in my stash. I'm certainly itching to use up the beautiful set she sent me, and sewing these shorts has lit the fire for sewing ALL. THE. SHORTS. again this year! Step aside elastic waist, I'm coming for the denim stash. Lol.
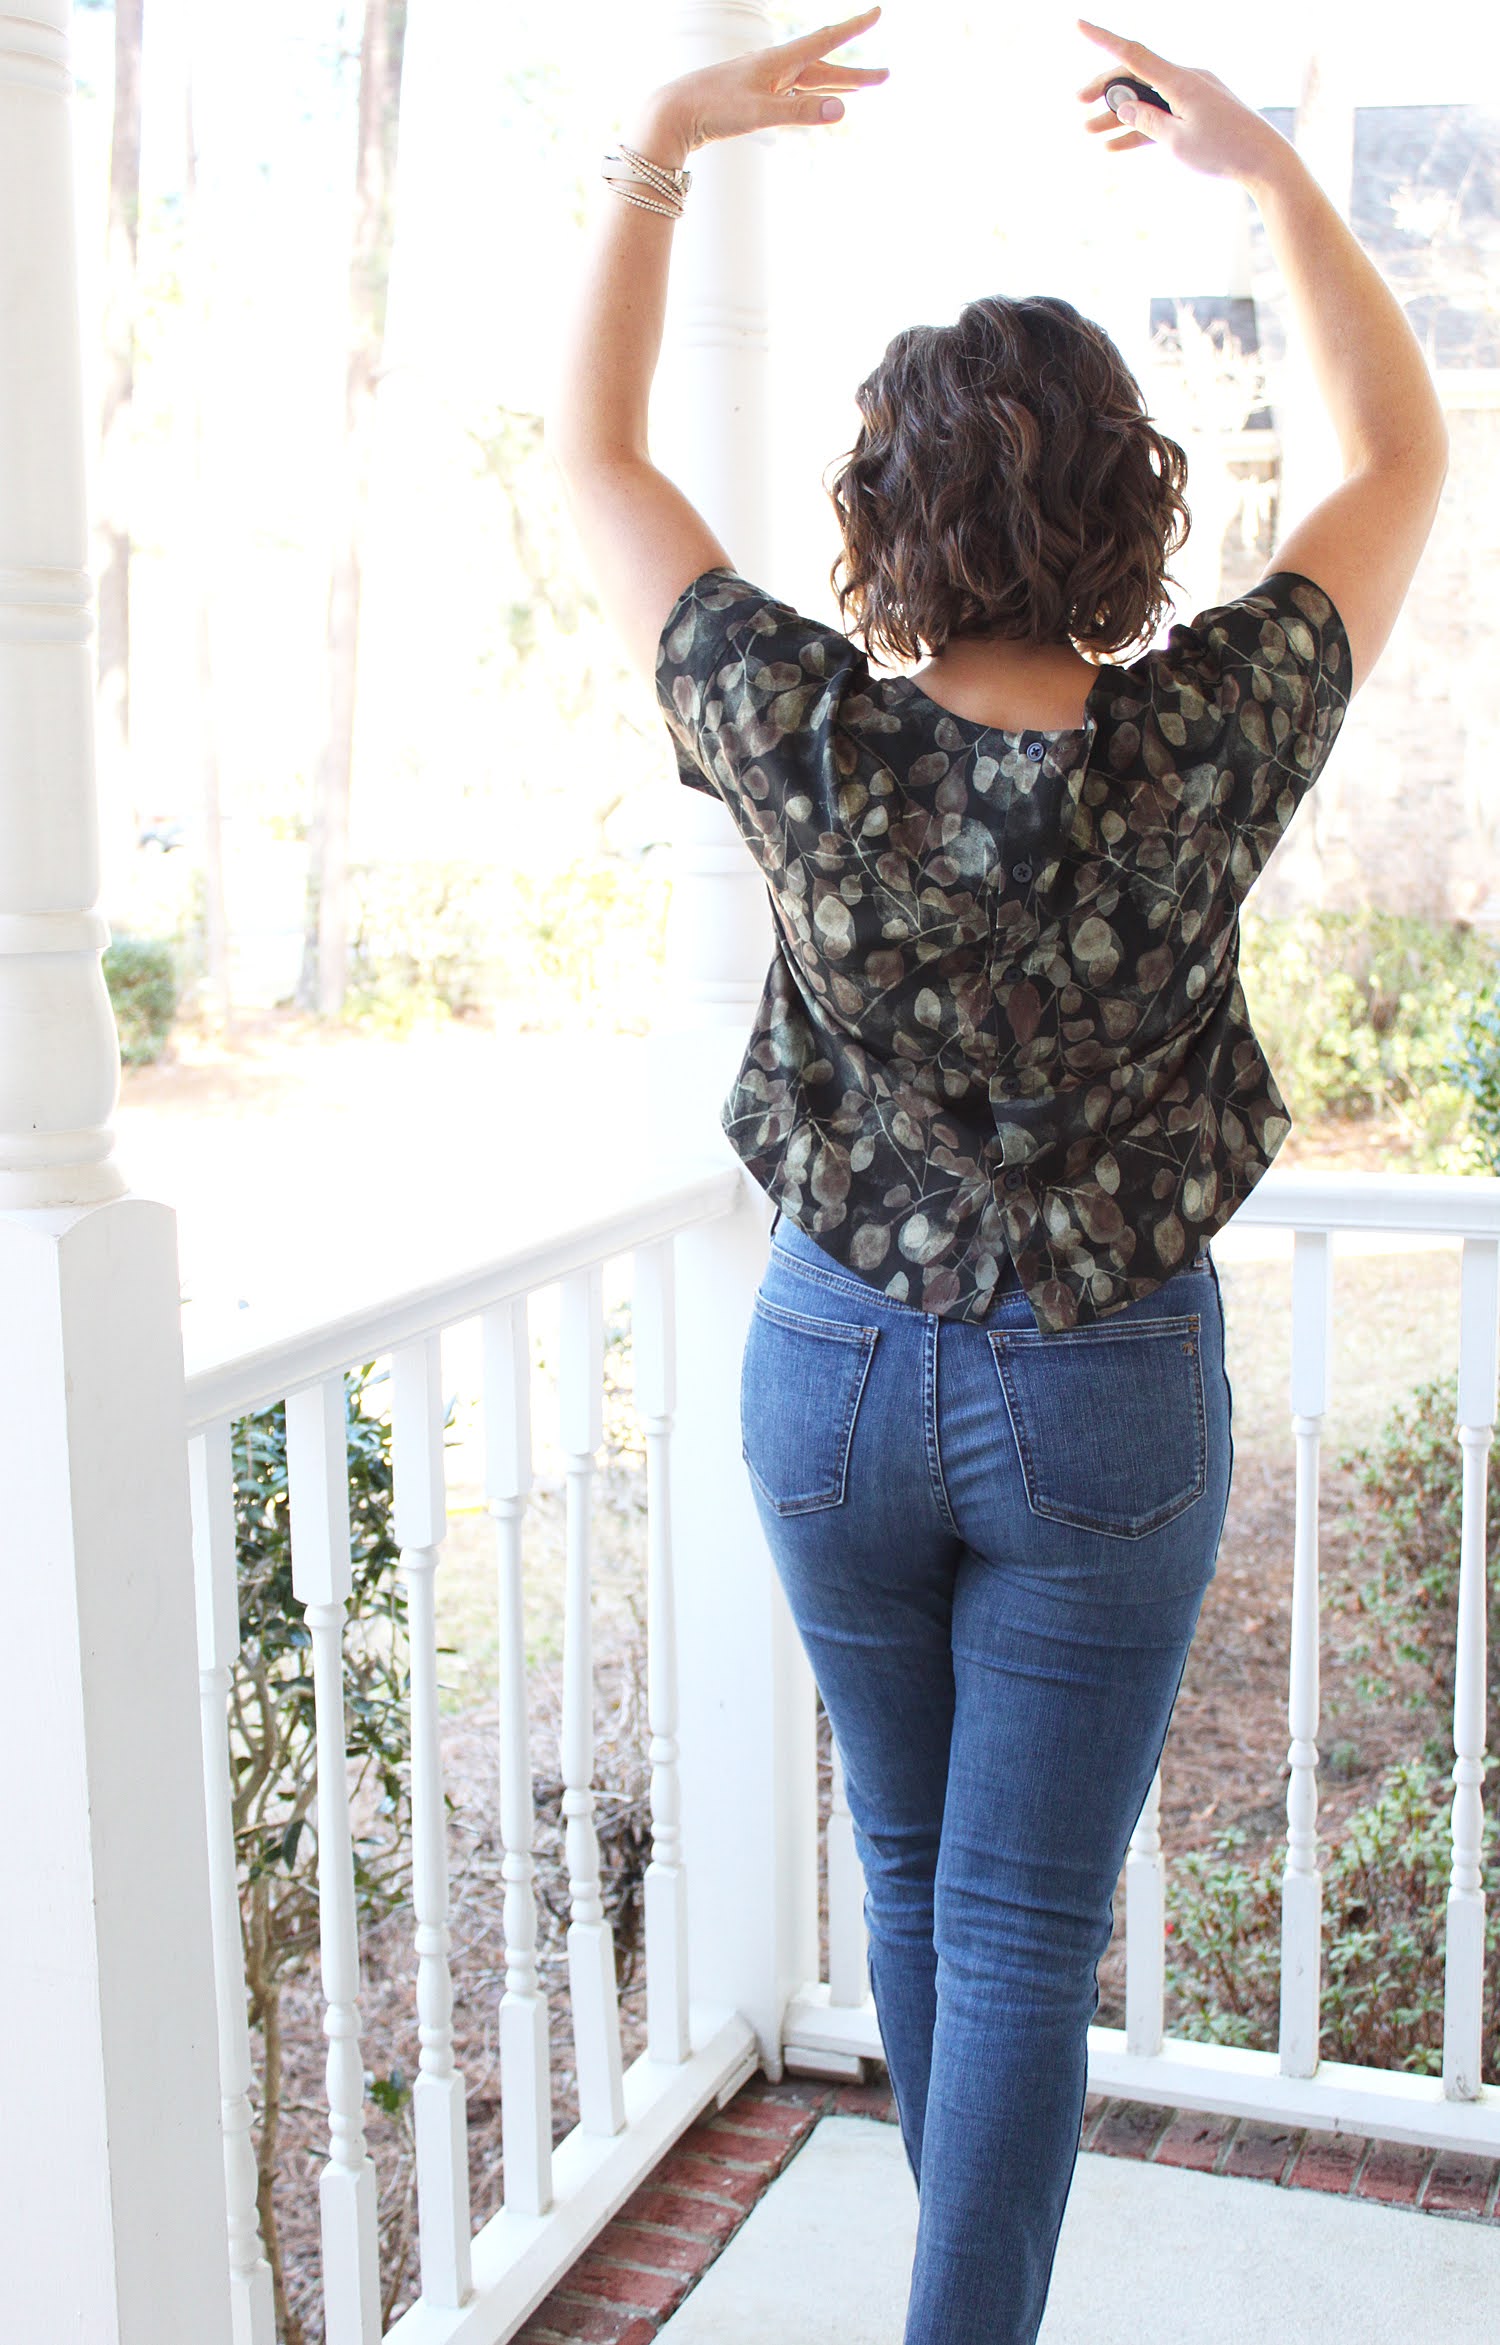
Norma Top
This gorgeous Watercolor Floral Digital Cotton Lawn was an easy choice! I knew immediately that I wanted to make some kind of statement blouse from it. I also settled pretty easily and quickly on the Norma Blouse by Fibre Mood for this fabric. I had been wanting to make this pattern since the minute I first laid eyes on it, and was so excited to finally get the chance!
The pattern did not disappoint! I made a straight size 8, and I'm very pleased with the fit! The pattern went together really well, and the finished product is so good. The length is perfect for tucking into high-waisted bottoms and a great length to wear untucked with mid-rise bottoms, too.
I'm absolutely head-over-heels with statement 3/4 length sleeves at the moment, so this was perfect and fell right into that category.
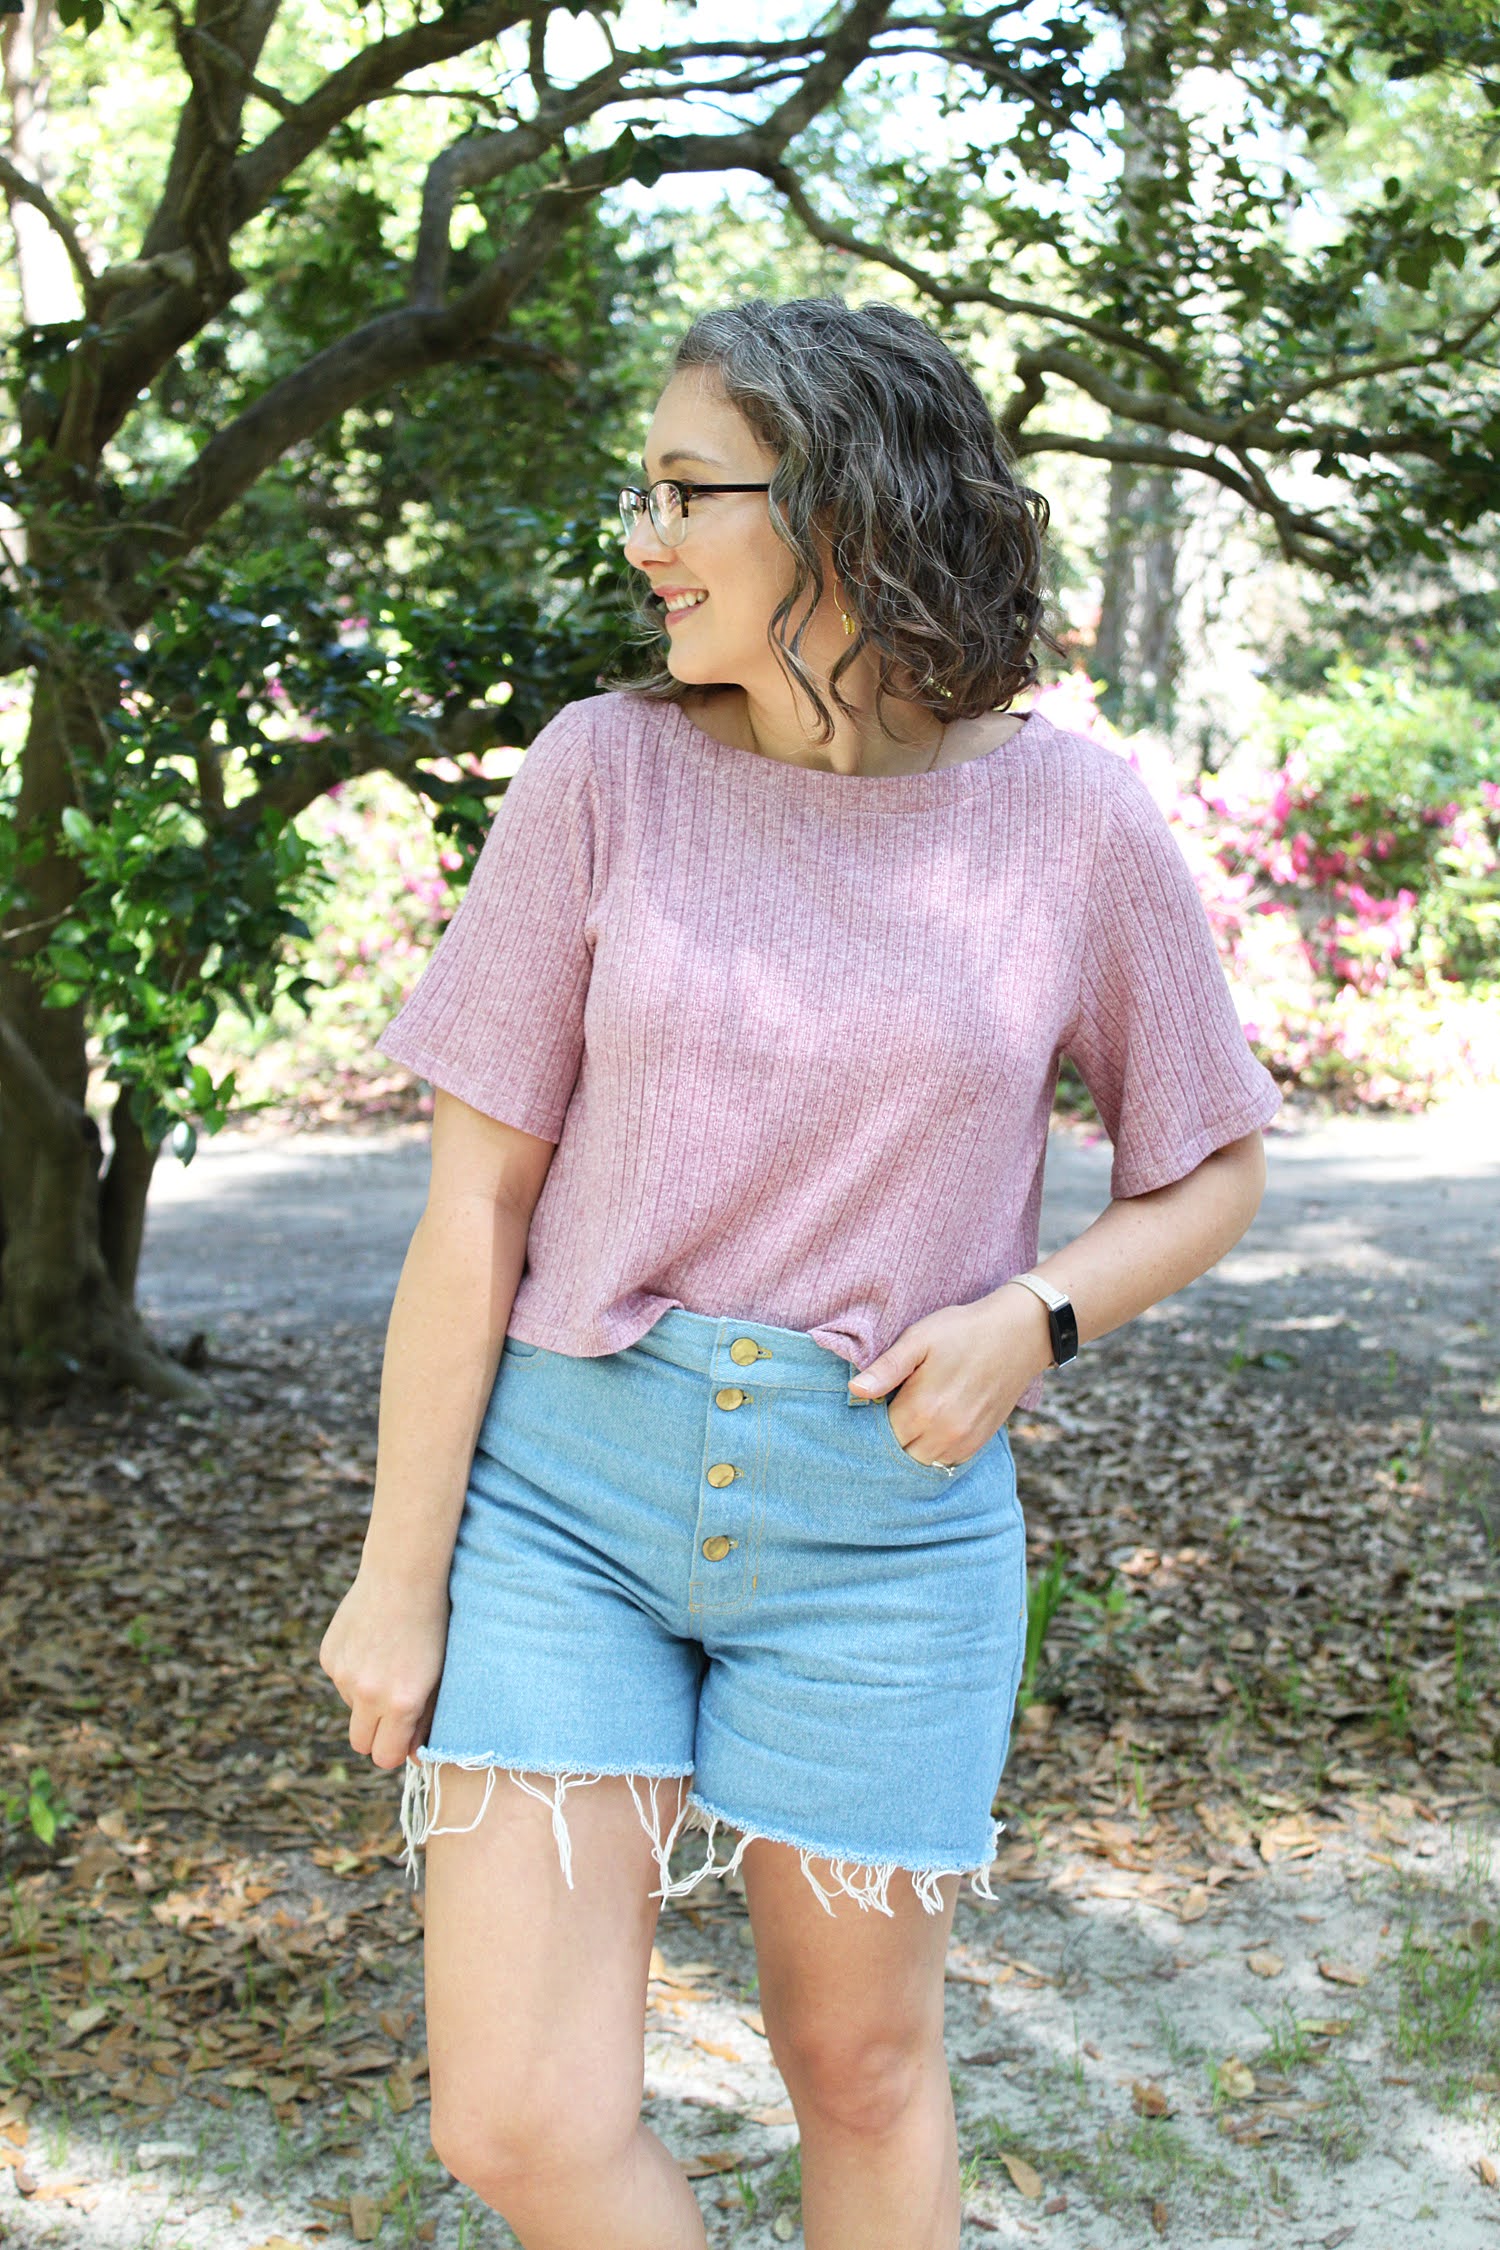
Sheridan Sweater Hack
The third fabric I chose was this absolutely delicious Mini Cable Sweater Knit (in Rose). I had initially thought I would make another layer to go with the blouse and shorts combo, but once I went the statement sleeve route, it made it a bit more difficult to come up with a cohesive outfit. So instead, I went a completely different route and chose to make up a couple more pieces that satisfy my love of summer sweater wear!
I made a second version of my Sheridan Sweater (pattern by Hey June Handmade) hack (first shown HERE) with just a couple of tweaks from my first version, to get it pretty darn close to perfect! For this version I used View B (again) for the neckline and simply trimmed it down by around 3/4". Then instead of finishing it with a facing, I folded under 1" and hemmed. I'm so pleased with how it turned out!
The second small change from my first version is that I added 1 1/2" to the cropped length included in the pattern and hemmed 5/8" rather than finishing with a hemband like the pattern instructs.
I adore this summer sweater. The elbow sleeves are such a great shape, and makes me feel so good when I wear it!
Pony Tank (Altered)
The final piece in my little summer collection is this sweater tank! I'm in love with sweater tanks. Just as much, or maybe more (shh, don't tell!) than my warm weather sweaters I've been attached to sewing for the past few years.
I used the updated Pony Tank pattern by Chalk and Notch for this tank, and it worked so perfectly!!
I made a few changes to the pattern to get the look I was going for. I cut my usual C+N size (8), and chose the cropped view. Then I slimmed the shoulder straps, straightened out the side seams a bit, and straightened out the hem curve.
To slim the straps, I narrowed the outer shoulder from the shoulder seam down to where the armsyce curves the most and graded back out to my normal size there. The neckline curve stayed the same.
I wanted a less swingy tank than the Pony Tank is drafted for, but still wanted some breathing room in the bodice. To get the fit I was after, I straightened the side seams from a swingy A-line shape, to a very slight A-line shape. On the size 8, I reduced the pattern piece by about 3" at the bottom of the side seam. I did the same to both the front and back pattern pieces.
I wanted the tank to be quite cropped, since my torso is really short above my waist and my Dawn shorts come to my belly button, so I straightened out the hem curve for an even more exaggerated crop. I cut the hem straight across at the point where the hem started to curve, and finished with a 5/8" hem.
To make the 2 sweater tops I sewed just a little bit different from each other, I decided to use the reverse of the fabric for this tank. The texture is absolutely amazing!! Either side can be used as the right side, but if I had to pick a favorite, this one would be it. 😍
I love this Pony Tank so much, I've already ordered another rib knit to make a second!
I'm so, so happy with my little spring/summer capsule! I can't believe just how comfortable the rigid denim shorts turned out to be! This will certainly not be my last pair of Dawn shorts! I'm already dreaming up lots more. 😉
LINKS:
Fabrics:
Patterns:
Necklace:
My new workplace!:
- Sew Suite Studio (I am helping to manage the social media there, so feel free to give us a follow to see more of what I'm up to! 😉)
Thanks so much for stopping by and checking out my makes! 💕